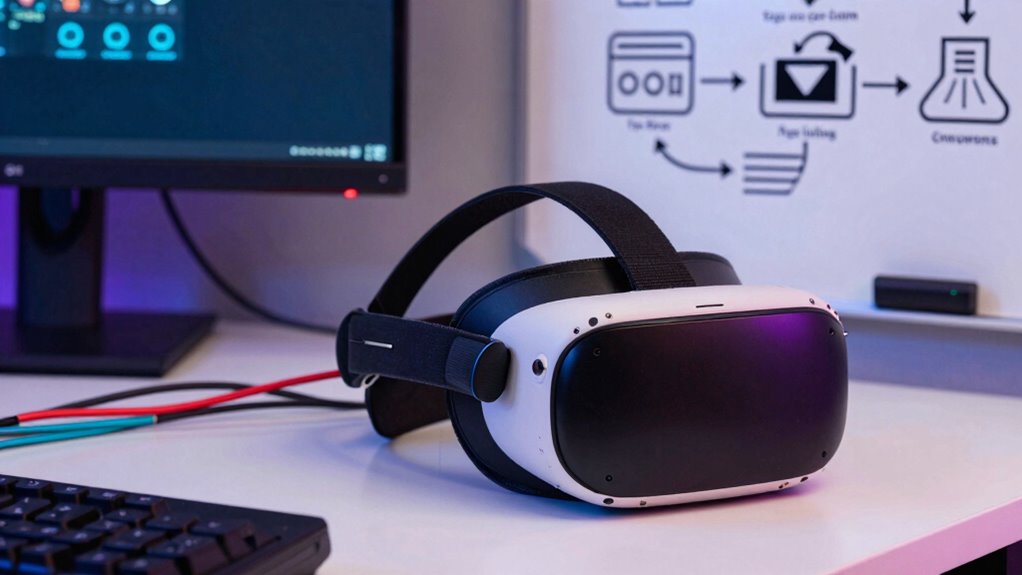

To troubleshoot VR faster, start by checking hardware connections and ensuring all cables are secure and components are compatible. Then, verify that your drivers and software are up to date, as outdated software often causes issues. Next, reset sensors and recalibrate your headset to address tracking problems. If recent hardware was added, disconnect it temporarily to identify conflicts. Adjust the order of these checks based on your symptoms to save time—more tips await if you keep exploring.

Play games on Amazon Luna for your next adventure, included with Prime
- A rotating selection of games, no download needed
- Play on TV, laptop or phone
- Fast, free delivery for your gear, too
Key Takeaways
- Prioritize hardware checks first to eliminate physical connection issues early in the troubleshooting process.
- Address environmental and calibration factors before software updates to resolve tracking problems efficiently.
- Isolate new hardware or accessories to identify conflicts caused by recent additions.
- Revisit symptoms and adjust troubleshooting order, focusing on the most likely causes based on specific issues.
- Regularly update drivers and firmware early to prevent and resolve compatibility conflicts quickly.
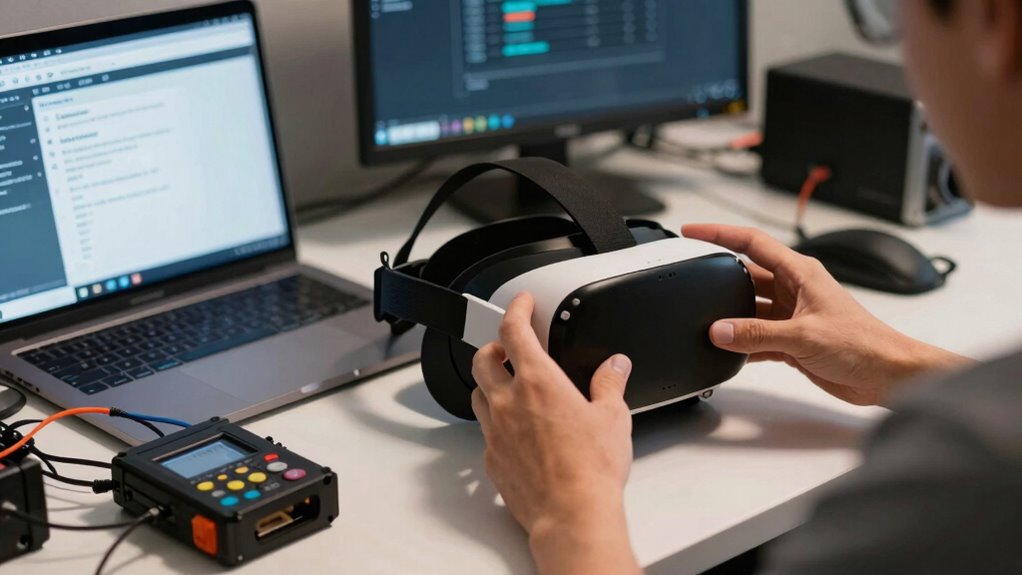
Troubleshooting VR issues can be frustrating, but knowing how to quickly identify and fix common problems can save you time and get you back to immersive experiences faster. One effective strategy is changing the order of your checks, which helps you pinpoint the root cause more efficiently. Instead of following a fixed troubleshooting sequence, adapt your approach based on the symptoms and recent changes to your setup.
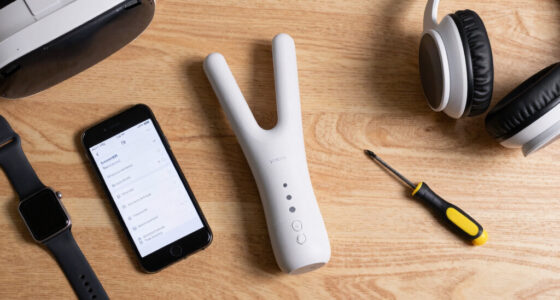
Start by evaluating your VR hardware upgrades. If you’ve recently added new equipment or upgraded components, it’s wise to verify that all hardware is properly connected and functioning. Loose cables, incompatible hardware, or outdated drivers can cause issues that seem complex but are often straightforward to resolve once identified. By prioritizing hardware checks first, you eliminate potential physical connection problems early, reducing unnecessary troubleshooting steps later.
Prioritize checking your hardware connections and compatibility after recent upgrades to quickly identify simple issues.
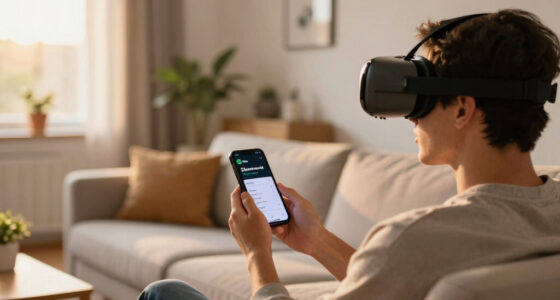
Next, consider the software compatibility aspect. If your hardware appears fine, but you’re still experiencing issues, focus on software. Check whether your VR software and drivers are up to date, especially after hardware upgrades. Outdated or incompatible drivers can create conflicts that cause crashes, lag, or tracking problems. Updating your VR software, graphics card drivers, and any relevant firmware should be your next step. Remember, software compatibility is vital; even minor updates can resolve bugs that cause performance issues.
If you encounter calibration or tracking problems, switch your focus to the setup environment. Ensure your play area has sufficient lighting, no reflective surfaces, and enough space for safe movement. Sometimes, these environmental factors impact VR tracking more than hardware or software issues. Resetting your sensors and recalibrating your headset can often fix tracking irregularities, saving you hours of frustration. Additionally, understanding hardware upgrades and their impact on system stability can help you better manage your setup.
When issues persist, consider whether your VR hardware upgrades might be causing conflicts. Newly installed devices or accessories sometimes interfere with existing setups, especially if they share resources or use similar ports. Temporarily disconnect recent additions to see if stability improves. This process can quickly reveal whether recent hardware changes are the culprit.
Finally, if everything else checks out but problems remain, it might be time to revisit your troubleshooting order. Sometimes, rolling back recent updates or drivers can resolve conflicts introduced by incompatible software changes. By adjusting your checks based on the current symptoms, you reduce unnecessary steps and focus on the most likely causes, speeding up your troubleshooting process. Remember, a flexible, symptoms-driven approach helps you identify issues faster, whether they stem from hardware upgrades, software compatibility, or environmental factors.
As an affiliate, we earn on qualifying purchases.
Frequently Asked Questions
Can Software Updates Fix VR Hardware Issues?
Software updates can sometimes fix VR hardware issues, especially if firmware glitches or compatibility issues are causing problems. When you update your VR software, it often includes bug fixes and improvements that address these glitches. However, not all hardware problems are solved this way—some might require hardware repairs. Always check if your device’s firmware is up-to-date before troubleshooting further, as it’s a simple step that can save you time.
How Do I Identify if My VR Headset Is Physically Damaged?
Pinpoint physical damage by performing a thorough hardware inspection. Look for visible issues like cracks, dents, or broken connectors that suggest physical damage. Check for loose or frayed cables, foggy or cracked lenses, and misaligned sensors. If you notice any abnormality, like unusual marks or broken parts, your VR headset is likely physically damaged. Address these issues promptly by replacing damaged components, ensuring safe and smooth VR experiences.
What Are Common Connectivity Problems With VR Devices?
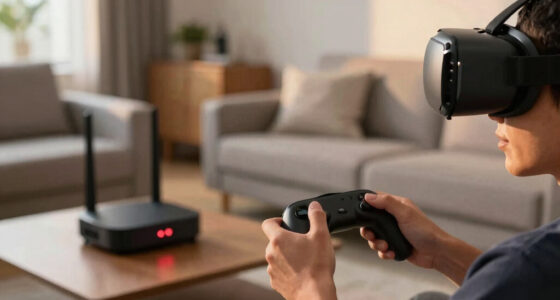
You might face connectivity problems with your VR device due to wireless interference or compatibility issues. Wireless interference from other devices like Wi-Fi routers or Bluetooth gadgets can disrupt signals, causing lag or dropouts. Compatibility issues may arise if your headset isn’t fully supported by your PC or console, or if software is outdated. To fix these problems, check for interference sources, verify your hardware and software are compatible, and keep everything updated.
How Long Should I Test Each Troubleshooting Step?
Think of troubleshooting as your own time machine—test each step long enough to see results but not so long you waste hours. Usually, you should spend about 5-10 minutes on each check, like a visual inspection or following your troubleshooting checklist. If you see no improvement, move on to the next step. This way, you efficiently identify and fix issues without getting stuck in a loop.
Is It Better to Troubleshoot VR Alone or With Support?
It’s usually better to seek support assistance when troubleshooting VR issues, especially if you’re unfamiliar with the setup or troubleshooting process. Solo troubleshooting can work if you’re confident and experienced, but support assistance helps identify problems faster and reduces frustration. Having someone else look at your setup can spot issues you might miss, making the process more efficient and ensuring you don’t overlook simple fixes.
As an affiliate, we earn on qualifying purchases.
Conclusion
So, next time your VR isn’t working right, why not switch up your troubleshooting order? You might discover a quick fix that saves you time and frustration. Remember, sometimes a fresh approach is all it takes to solve the problem. Isn’t it satisfying when you can get back to your immersive experience faster? Keep experimenting with your checks, and you’ll become a troubleshooting pro in no time!
As an affiliate, we earn on qualifying purchases.
As an affiliate, we earn on qualifying purchases.
Fall Picks
fall essentials
As an affiliate, we earn on qualifying purchases.