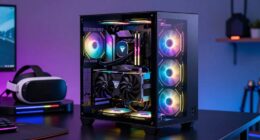
To establish VR in a small room without feeling trapped, start by decluttering and clearing obstacles to create a safe, open space. Opt for wireless, compact VR equipment, and use vertical storage to maximize your area. Define boundaries with bright tape or physical barriers, and guarantee good lighting for visibility. Incorporate mirrors wisely to improve spatial awareness, and keep cables organized. If you continue exploring, you’ll discover more tips to make your VR setup comfortable and immersive.
Key Takeaways
- Clear clutter and evaluate space to create an open, unobstructed play area, ensuring safe movement.
- Use visual markers like tape lines or mats to define boundaries and prevent feeling confined.
- Opt for wireless VR headsets and sensors to reduce cable clutter and enhance freedom of movement.
- Arrange furniture and equipment away from the play zone, utilizing vertical storage to maximize space.
- Adjust lighting with dimmable, indirect options to improve visibility without making the room feel smaller.
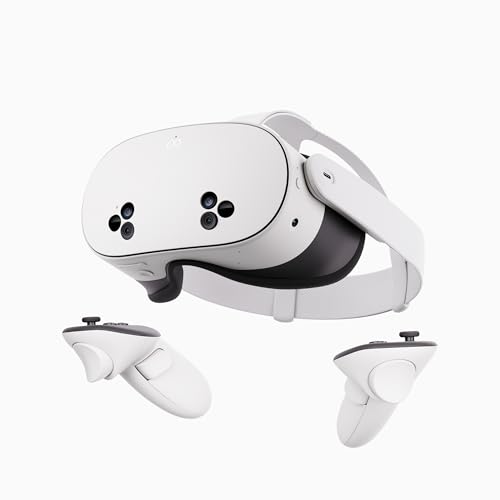
Meta Quest 3S 128GB | VR Headset — Thirty-Three Percent More Memory — 2X Graphical Processing Power — Virtual Reality Without Wires — Access to 40+ Games with a 3-Month Trial of Meta Horizon+ Included
NO WIRES, MORE FUN — Break free from cords. Game, play, exercise and explore immersive worlds — untethered…
As an affiliate, we earn on qualifying purchases.
As an affiliate, we earn on qualifying purchases.
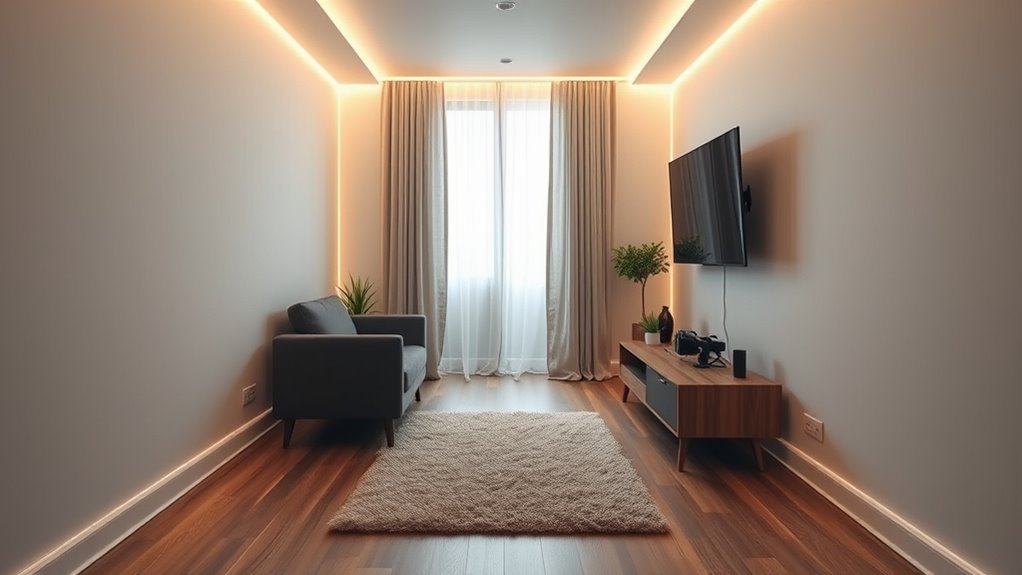
Assess Your Space and Clear Clutter
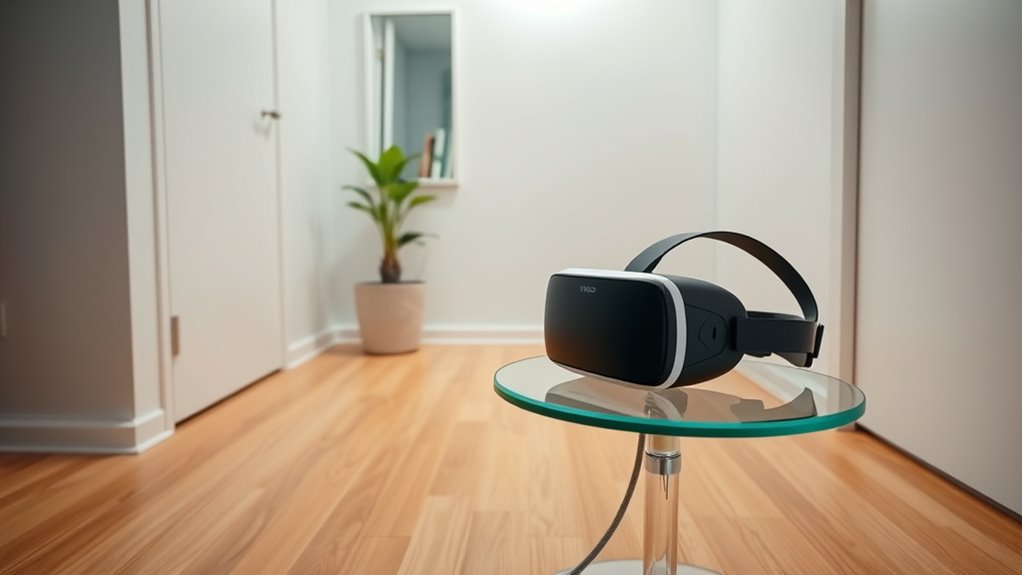
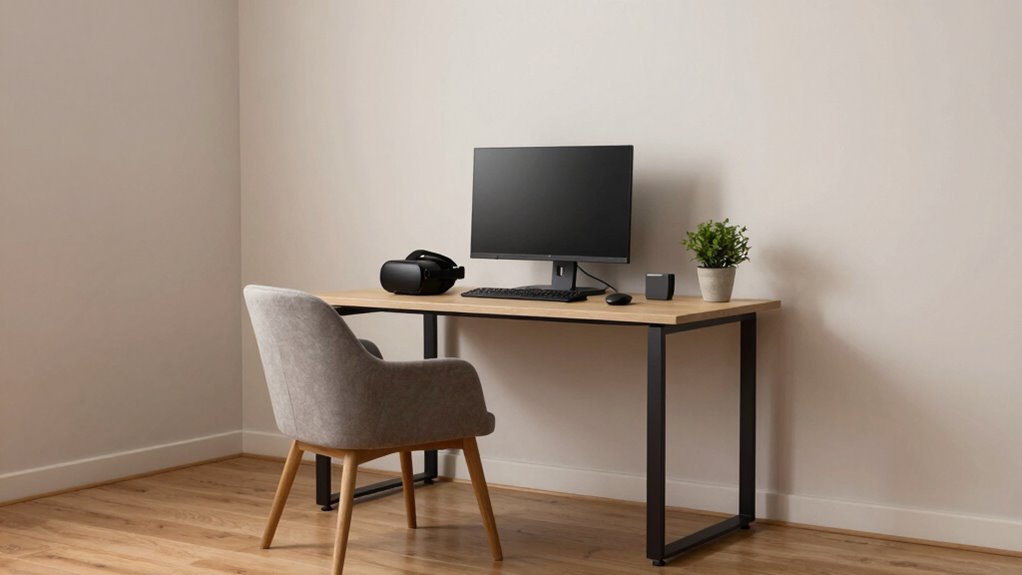
Before setting up your VR area, it’s essential to evaluate your space and clear any clutter. Take a good look around your small room and identify obstacles like furniture, cords, or decorations that could interfere with movement. Move or rearrange items to create a safe, open area where you can stand comfortably. Measure the available space to ensure it meets the minimum requirements for your VR system, typically about 6.5 feet by 6.5 feet. Clearing clutter not only minimizes tripping hazards but also helps you stay focused during gameplay. Consider the projector image quality and lighting conditions to optimize your VR experience. Additionally, incorporating natural elements such as plants can help create a more inviting and relaxing environment. Proper lighting setup can further enhance your comfort and immersion. Creating a dedicated and well-organized space can maximize safety and improve your overall VR experience. Prioritize safety and comfort to enjoy immersive VR experiences without feeling confined or anxious.

Hubaow 6 Pack Orange Flagging Tape, Non-Adhesive Plastic Ribbon Neon Marking Roll,1inch*600ft, Marking Tape for Tree Marking, Hunting, Boundaries Hazardous Areas,Trail Marking, Workplace Use
Package includes: 6 PCS flagging tape same colors. Each marking tape roll is 1" width, 100' length, which…
As an affiliate, we earn on qualifying purchases.
As an affiliate, we earn on qualifying purchases.
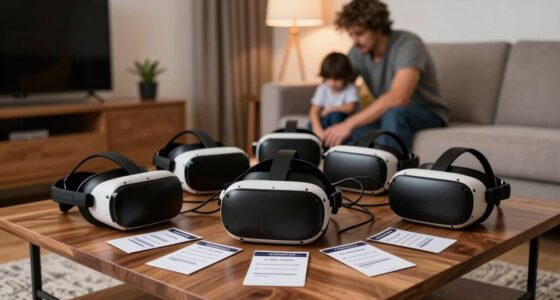
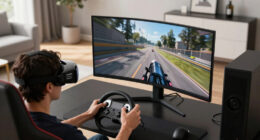
Choose Compact VR Equipment and Accessories
To make the most of your small space, choose compact VR equipment and accessories. Opt for space-saving headsets, multipurpose gadgets, and wireless devices to keep your setup streamlined. This approach helps prevent clutter and maximizes your available area, leading to a more comfortable and immersive experience. Additionally, consider upgrading your setup with practical modifications to enhance comfort and functionality. Incorporating smart home automation can also help optimize your environment for VR, such as adjusting lighting or managing noise levels for a more immersive experience. For example, understanding how to set up VR in a small room can significantly improve your overall experience and comfort, especially when leveraging European cloud servers for reliable data management and device integration. Implementing space-efficient storage solutions can further help you keep your area organized and free of unnecessary clutter.
Opt for Space-Saving Headsets
Choosing a space-saving headset is essential when setting up VR in a small room, as it helps maximize your limited space without sacrificing the immersive experience. Compact headsets, like the Oculus Quest 2 or Pico Neo, are lightweight and don’t require external sensors or large base stations, freeing up room for movement. These all-in-one devices are easy to store when not in use, reducing clutter. Look for models with adjustable straps and balanced weight distribution to ensure comfort during extended sessions. Wireless options eliminate cable clutter, making navigation more natural and less restricted. When selecting a headset, prioritize those with a smaller footprint and versatile fit, so you can enjoy immersive VR without feeling confined or overwhelmed by bulky equipment. Understanding filtration and airflow can also help optimize your space and device cooling, ensuring a safer and more comfortable experience.
Select Multipurpose Accessories
Selecting multipurpose accessories that are compact and versatile can considerably enhance your small-room VR setup. Look for equipment that combines multiple functions, like controllers with built-in tracking or adjustable stands that double as storage. These accessories help reduce clutter and maximize utility without sacrificing performance. For example, choosing a headset with integrated audio saves space and eliminates extra cables. Compact charging stations keep controllers powered without taking up much room. Consider accessories that serve multiple purposes—such as a foldable mat that doubles as a safety zone and a cable management system that keeps cords organized. By selecting these versatile items, you streamline your setup, minimize clutter, and create a more comfortable, open environment for immersive VR experiences. Incorporating space-efficient technology ensures your setup remains functional and welcoming despite limited room size.
Prioritize Wireless Devices
Wireless devices substantially streamline your small-room VR setup by eliminating tangled cables and reducing physical clutter. Choosing wireless VR headsets and accessories keeps your play area open and unobstructed, making movement safer and more more natural. With fewer cords, you won’t have to worry about tripping or accidentally pulling equipment off shelves. Look for compact, lightweight devices that are easy to set up and store when not in use. Wireless sensors and controllers further minimize clutter, freeing up space and allowing you to move freely without cable constraints. Prioritizing wireless options also simplifies your setup process, saving time and frustration. Overall, using wireless equipment helps maximize your small room’s potential, providing a seamless, immersive VR experience without feeling trapped or cramped. Incorporating wireless controllers and sensors can further enhance your experience by reducing the need for additional wiring and setup complexity. Additionally, selecting compact, lightweight devices can significantly improve comfort and ease of use during extended VR sessions. Choosing wireless technology that is compatible with your existing setup can also help ensure a more straightforward installation process. Opting for wireless connectivity that supports your VR hardware can lead to a more reliable and enjoyable experience. Furthermore, opting for wireless setup options can make your entire VR environment more adaptable and easier to modify as your needs evolve.

Original Camera Sensor Lens for Meta Oculus Quest 2 VR Headset Assembly Replacement Part 330-00782-02
Descriptions: Item name: Camera Sensor Lens Compatible model: For Oculus Quest 2 Condition: Original unused P/N: 330-00782-02
As an affiliate, we earn on qualifying purchases.
As an affiliate, we earn on qualifying purchases.
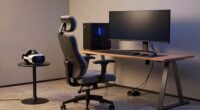
Optimize Your Room Layout for Movement
To make the most of your small room for VR, you need to optimize the layout to allow smooth movement and prevent accidents. Start by arranging furniture away from your play area, creating an open space free of obstacles. Use lightweight or movable furniture that can be easily shifted if needed. Position your VR sensors or cameras in a way that covers the entire play zone without blind spots. Keep cords organized using clips or sleeves to avoid tripping hazards. Consider marking boundaries on the floor with tape or decals to define your safe zone clearly. Ensure there’s enough clearance on all sides for natural movement and quick reactions. Regularly reassess your setup as you add equipment or change your room’s layout to maintain safety and comfort. Additionally, smart‑home integrations can provide valuable tips and product recommendations for optimizing small VR spaces. Incorporating ergonomic principles into your setup can help prevent fatigue and enhance your overall experience. To further enhance safety, implementing space-saving furniture can maximize your available area without sacrificing comfort. Also, paying attention to room lighting can improve visibility and reduce eye strain during extended VR sessions.
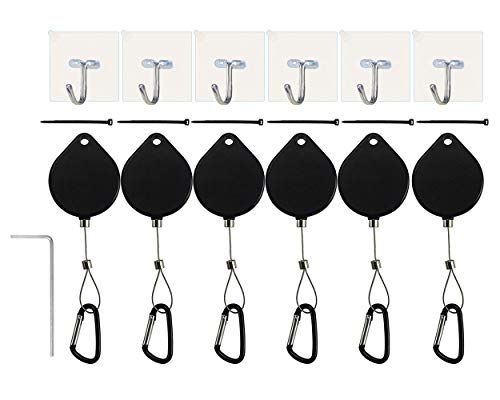
DS.Distinctive STYL VR Accessories Cable Management 6 Packs – Drill Free Retractable Ceiling Suspension System for HTC Vive/HTC Vive Pro Virtual Reality/Oculus Rift/PlayStation VR/Microsoft MR
No more worry about cable getting stuck under your feet while playing VR. This set keeps cable off…
As an affiliate, we earn on qualifying purchases.
As an affiliate, we earn on qualifying purchases.
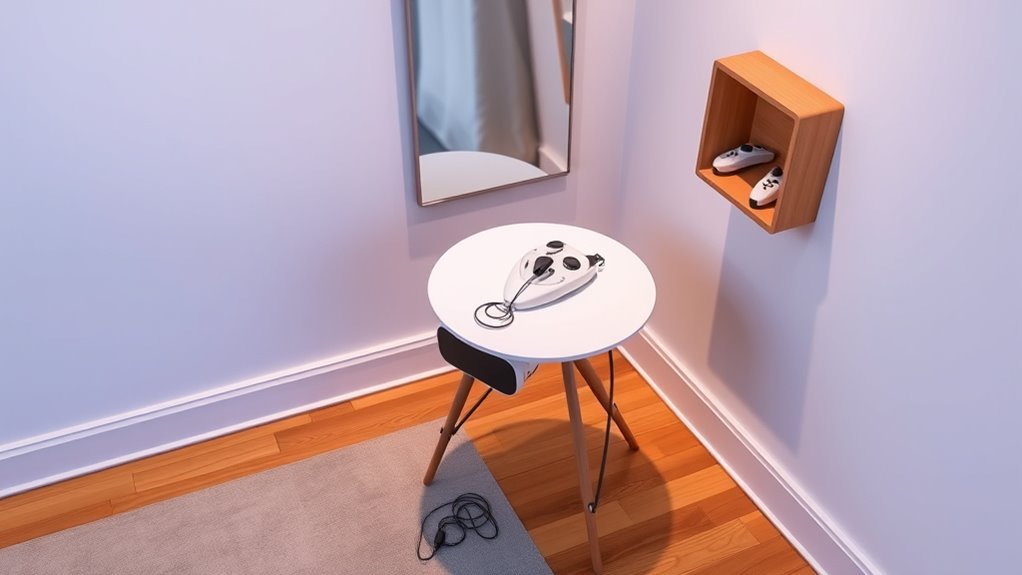
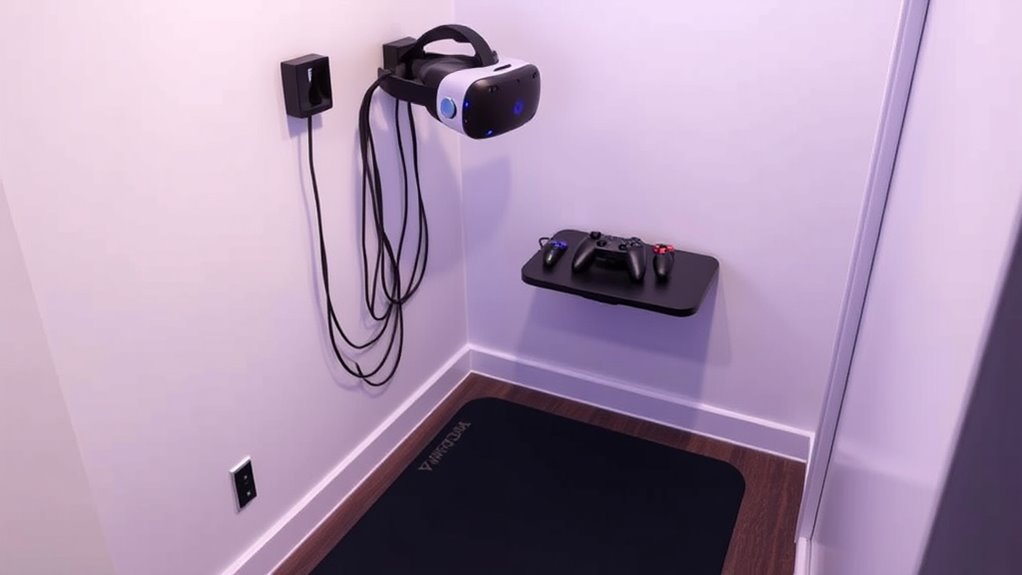
Use Vertical Space for Storage and Safety

Maximizing vertical space in your small room can considerably enhance both storage and safety. Hang shelves or wall-mounted organizers to keep your VR accessories, cables, and controllers off the floor, reducing clutter and trip hazards. Use hooks or pegboards for lightweight equipment, making it easy to grab what you need without rummaging through drawers. Install wall-mounted storage units for larger items, freeing up valuable floor space. Keep pathways clear by securing cords along walls or ceiling, preventing tripping accidents during gameplay. Consider using vertical storage solutions that double as safety barriers, like padded wall strips or corner protectors, to cushion accidental bumps. Additionally, selecting quality storage solutions can ensure your items are stored securely and last longer. Incorporating portable power solutions can also help keep your setup organized and prevent electrical hazards. By utilizing vertical space effectively, you create a safer environment that minimizes obstacles and maximizes your available room.
Implement Lighting Strategies to Enhance Visibility
To make your VR experience clearer, you should choose adjustable lighting options that let you customize brightness levels easily. Adding accent lights can highlight key areas, improving visibility without causing distractions. Be sure to minimize glare and shadows to keep the environment safe and immersive.
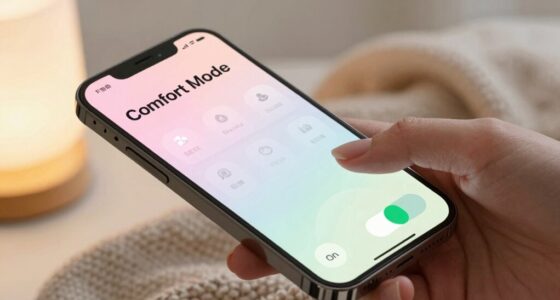
Use Adjustable Lighting Options
Adjustable lighting options are essential for creating an ideal VR experience in a small room, as they allow you to tailor the environment to your specific needs. By adjusting brightness and color temperature, you can reduce glare and eye strain, making your sessions more comfortable. Dimmable lights give you control over ambient lighting, helping you avoid harsh shadows that can interfere with tracking or immersion. Consider using smart bulbs or adjustable fixtures so you can quickly change lighting situations. Here’s a quick reference:
| Lighting Type | Benefits | Tips |
|---|---|---|
| Dimmable LEDs | Customizable brightness | Use remote or app control |
| Color Temp Controls | Reduce eye strain | Switch between warm/cool |
| Spotlights | Highlight specific areas | Focus on corners or shelves |
Incorporate Accent Lights
Adding accent lights can considerably improve your VR experience by enhancing visibility in key areas of your small room. Use small, focused lights to highlight pathways, corners, or objects you frequently interact with. Position these lights strategically to avoid creating glare or shadows that could interfere with your view. Consider installing adjustable LED strips or spotlights that you can dim or direct as needed. This targeted lighting helps you see clearly without overwhelming the space, reducing eye strain and making movement safer. Accent lights also add ambiance, making your small VR room feel more inviting and less confined. Keep the lighting subtle but effective, ensuring that it supports your visibility without cluttering your visual field during gameplay.
Minimize Glare and Shadows
When setting up your VR room, managing glare and shadows is key to maintaining clear visibility and a comfortable experience. Bright lights can cause reflections on screens, while harsh shadows can obscure your view. To minimize these issues, position lights away from your play area and use matte finishes on walls and furniture to reduce glare. Consider using adjustable lighting, like dimmable lamps or indirect lighting, to fine-tune brightness levels. Here’s a quick visualization:
| Brightness Level | Effect |
|---|---|
| High | Creates glare and harsh shadows |
| Medium | Balances visibility and comfort |
| Low | Reduces glare but may darken the room |
| Indirect | Softens light, minimizes shadows |
| Adjustable | Customizes lighting for ideal view |
Proper lighting ensures your VR experience remains immersive and comfortable.
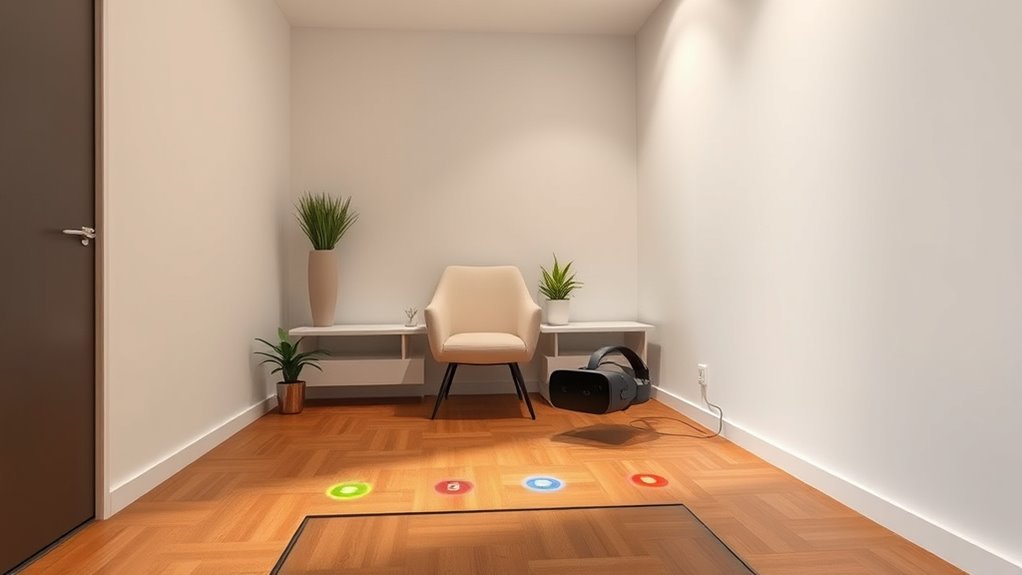
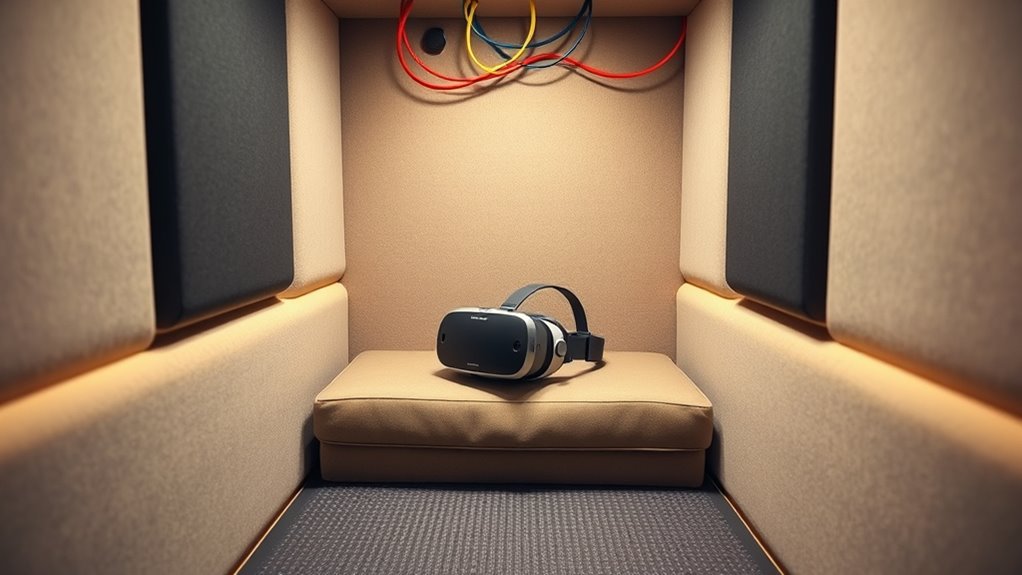
Create Boundaries With Visual or Physical Markers
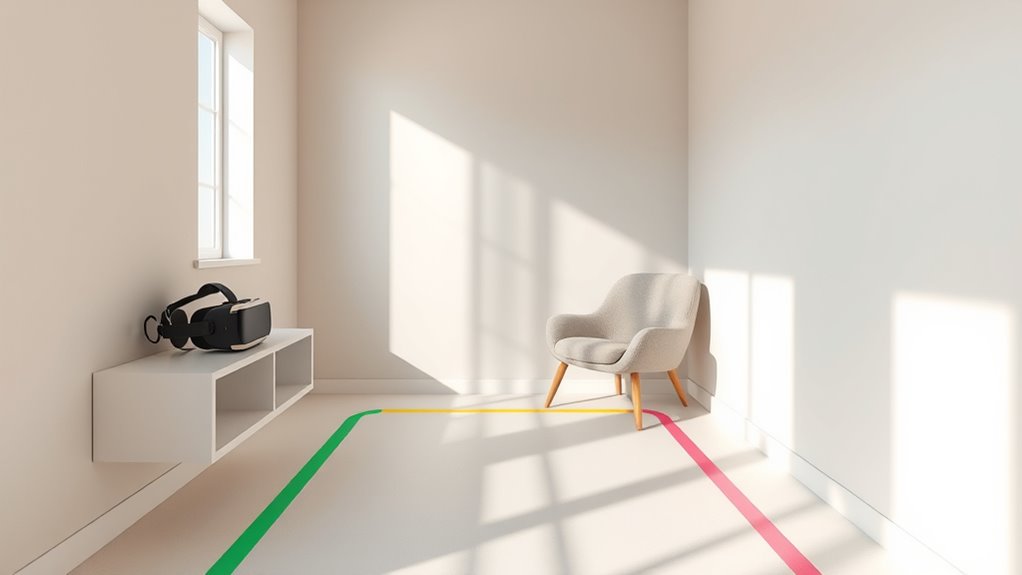
To prevent accidents during your VR sessions, it’s essential to create clear boundaries within your small room. Visual markers, like tape lines on the floor or colorful mats, help define your play area and remind you of limits. You can also use physical barriers like foam padding or furniture to block off hazardous zones. These markers give you a clear visual cue to stay within safe zones, reducing the risk of bumping into walls or furniture. Keep your boundaries consistent and visible, especially during intense gameplay. Using bright colors or contrasting tape makes the markers stand out, so you’re always aware of your limits. Establishing these boundaries guarantees you can enjoy immersive VR experiences without feeling trapped or worried about safety.
Incorporate Mirror and Reflection Solutions
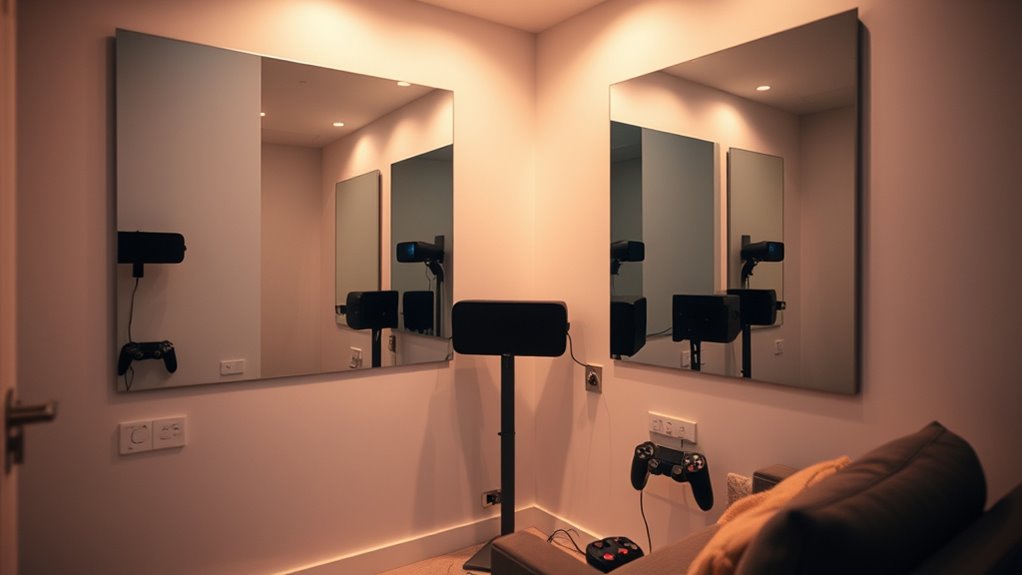
Mirrors and reflections can be tricky in small VR spaces, but with thoughtful placement, they can enhance safety rather than hinder it. Position mirrors so they don’t reflect your play area or any obstacles, helping you stay aware of your surroundings. Avoid placing mirrors directly in your line of sight or where reflections could create confusion or false perceptions of boundaries. Instead, use reflective surfaces strategically to monitor your space without causing distractions. Consider covering or tinting surfaces that might reflect VR equipment or controllers, reducing visual clutter. Additionally, ensure mirrors are securely mounted to prevent accidents if you accidentally bump into them. By managing reflections carefully, you create a safer environment that minimizes the risk of collisions while maintaining spatial awareness during your VR sessions.
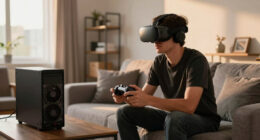
Use Wireless VR Systems to Minimize Cables
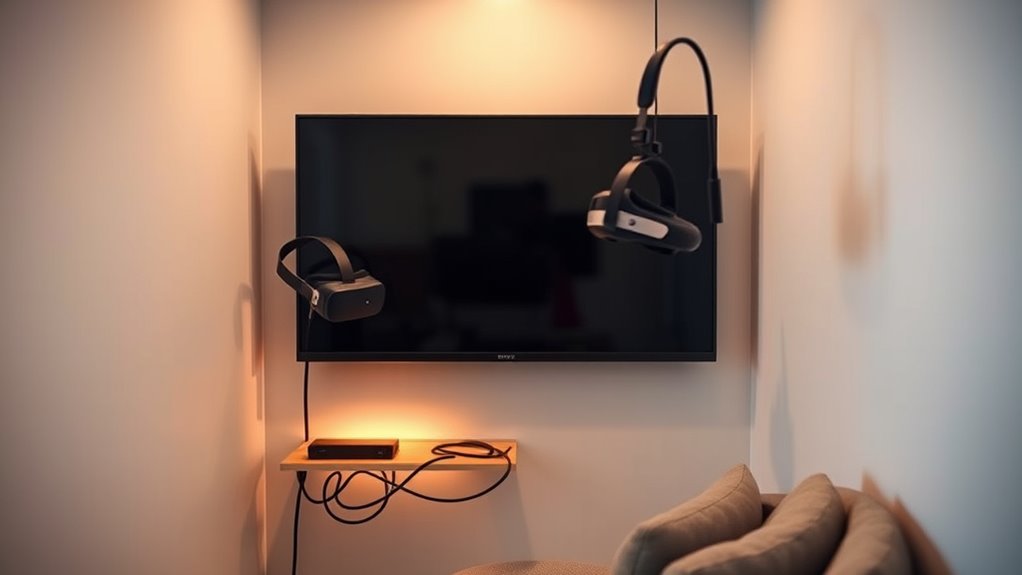
Using wireless VR systems can considerably improve safety and comfort in a small room by eliminating the clutter of cables. Without tangled wires, you reduce tripping hazards and free up space for movement. Wireless setups also make it easier to switch between different areas of your room seamlessly. To maximize benefits, consider these tips:
- Choose a reliable wireless system with low latency to prevent lag during gameplay.
- Clear the play area of obstacles to prevent accidental collisions.
- Regularly update your device firmware for peak performance and security.
Set Up Safety Measures and Padding
Since small rooms can easily become hazardous during VR sessions, setting up safety measures and padding is essential. Start by removing any sharp or hard objects, like furniture or décor, that could cause injuries if you accidentally bump into them. Add padding to corners, edges, and other potential impact points on furniture or walls to reduce the risk of cuts or bruises. Use foam mats or carpets on the floor to prevent slips and provide cushioning if you fall. Secure loose cords or wires to avoid tripping hazards. Consider installing wall padding or corner guards in high-traffic areas. These safety measures help protect you from injuries and make your VR experience more comfortable, allowing you to focus on the gameplay without worry.
Maintain an Organized Environment for Easy Access
Keeping your VR space organized makes setup and gameplay much smoother. You should assign a specific spot for your equipment, utilize vertical space, and keep cables tidy. These steps guarantee everything is within reach and easy to find when you need it.
Designate a Storage Spot
Have you ever struggled to find your VR accessories when you need them most? To keep your small room organized, designate a specific storage spot for everything. This prevents clutter from building up and saves time during setup or breaks. Start by choosing a dedicated container or shelf near your play area. Next, assign each item—headsets, controllers, cables—a specific place within that spot. Finally, make it a habit to return accessories after each use. This way, you’ll always know where to find what you need and avoid wasting time searching. A well-organized storage system keeps your space tidy, reduces stress, and makes your VR experience smoother and more enjoyable. Consistency is key to maintaining an efficient, clutter-free environment.
Use Vertical Space Wisely
Maximizing your vertical space is essential for keeping a small room organized and ensuring easy access to your VR gear. Use wall-mounted shelves or pegboards to store controllers, headsets, and accessories. This frees up valuable floor space and keeps everything visible. Place frequently used items at eye level for quick, effortless reach. Consider stacking storage bins or installing hooks for cables and smaller accessories. Here’s a simple layout to visualize:
| Vertical Storage Option | Items to Organize |
|---|---|
| Wall-mounted shelves | Headsets, games, controllers |
| Pegboards with hooks | Cables, VR accessories |
| Overhead storage bins | Less-used equipment |
This setup keeps your gear accessible without cluttering your limited space.
Keep Cables Tidy
Organizing your cables is key to maintaining a clutter-free gaming area and ensuring quick access to your VR gear. When cables are tangled or scattered, it’s easy to trip or accidentally disconnect equipment. To keep things tidy:
- Use cable clips or zip ties to bundle cords neatly along walls or furniture, preventing them from hanging loosely.
- Label each cable to quickly identify and troubleshoot issues without unnecessary guesswork.
- Consider cable management sleeves or conduits to hide multiple cords, reducing visual clutter and potential tripping hazards.
Frequently Asked Questions
How Can I Prevent VR Headset Discomfort During Extended Play?
To prevent VR headset discomfort during extended play, take regular breaks every 20-30 minutes to rest your eyes and stretch. Adjust the headset for a snug but comfortable fit, ensuring no pressure points. Keep your play area well-lit and stay hydrated. Practicing good posture and blinking frequently also helps reduce eye strain. Listen to your body, and if discomfort persists, take longer breaks or consult a specialist.
Are There Specific Safety Tips for Children Using VR in Small Rooms?
Did you know that children are more susceptible to VR discomfort due to their smaller stature and developing vision? To keep them safe in a small room, always supervise their play and guarantee the space is clear of obstacles. Set time limits to prevent fatigue, and adjust the headset for comfort. Make sure they take breaks often, and teach them to recognize signs of discomfort early.
What Are the Best Ways to Reduce VR Motion Sickness?
To reduce VR motion sickness, start by taking regular breaks to give your eyes and brain a rest. Make sure your headset fits snugly but comfortably, and gradually increase your playtime to build tolerance. Choose VR experiences with smooth, stable movements and avoid rapid or jerky motions. Keep your room well-ventilated and stay hydrated. If you feel dizzy, stop immediately and rest until symptoms subside.
How Do I Calibrate My VR System for Limited Space?
Imagine your small space as a tiny stage, ready for your virtual adventures. To calibrate your VR system, start by clearing clutter and marking boundary points with the play area setup. Use the system’s calibration tools, gently tracing your space’s edges. Move slowly, ensuring the sensors catch your movements. This way, your virtual world feels expansive, even in your cozy room, making every experience smooth and immersive.
Can I Use VR Outdoors in a Small Backyard?
Yes, you can use VR outdoors in a small backyard. Just make certain your space is clear of obstacles, and the lighting is suitable to avoid tracking issues. Keep your headset’s sensors aligned with your play area, and be mindful of weather conditions. Using a wired connection might be tricky outside, so consider wireless options for more freedom. Always stay aware of your surroundings to prevent accidents.
Conclusion
With a little planning, your small room can become a lush playground rather than a cramped cage. By optimizing space, choosing the right gear, and staying organized, you’ll create a safe, immersive VR zone that feels as open as the sky. Think of your room as a miniature universe—expanding with every smart setup. So, clear the clutter, set up thoughtfully, and let your virtual adventures soar without feeling trapped inside four walls.